The Settle to Carlisle Railway Gallery
photography by john longden
  • Home
  • About Me
  • Location Galleries
  • Guestbook
  • A history of S&C photography
  • Contact
  • Links

West Coast Main Line (north to south)

Return to: Location Galleries
JL - 7.4.20 66186 4S35 Seaforth - Mossend, Shap Wells
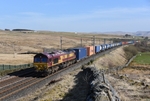
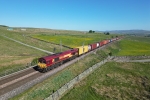
JL - 7.4.20 66186 4S35...
JL - 7.4.20 66849 6Z49 Long Marston - Carlisle, Shap Wells
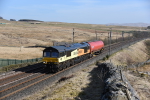
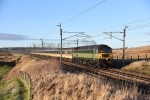
JL - 7.4.20 66849 6Z49...
JL - 7.4.20 88009 4S44 Daventry - Mossend, Shap Wells
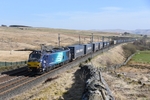
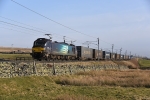
JL - 7.4.20 88009 4S44...
JL - 5.5.17 90045 90043 4S44 Daventry - Coatbridge, Shap Wells
JL - 5.5.17 90045 9004...
JL - 5.5.17 390129 1S63 1230 Euston - Glasgow, Shap Wells
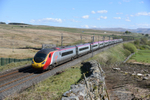
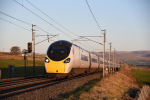
JL - 5.5.17 390129 1S6...
JL - 20.1.23 47805 / D1935 5Z48 Carlisle - Crewe HS, Salterwath
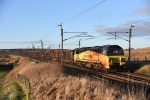
JL - 20.1.23 47805 / D...
JL - 20.1.23 70814 6J37 Carlisle - Chirk, Salterwath
JL - 20.1.23 70814 6J3...
JL - 31.5.23 66200 4S38 Seaforth - Mossend, Salterwath
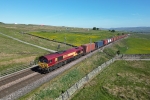
JL - 31.5.23 66200 4S3...
JL - 30.5.23 66200 4S38 Seaforth - Mossend, Salterwath
JL - 30.5.23 66200 4S3...
JL - 3.3.21 88003 4S44 Daventry - Mossend, Salterwath
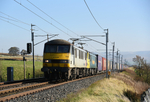
JL - 3.3.21 88003 4S44...
JL - 20.4.20 390134 16:57 Euston - Glasgow, Salterwath
JL - 20.4.20 390134 16...
JL - 10.10.18 90044 & 90046 4S44 Daventry - Coatbridge, Salterwath
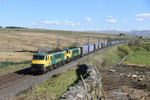
JL - 10.10.18 90044 & ...
Return to: Location Galleries
Pages: Previous 1 2 3 4 5 6 7 8 9 10 11 12 13 14 15 16 17 18 19 20
21 22 23 24 25 26 27 28 29 30 31 32 33 34 35 36 37 38 39 40
41 42 43 44 45 46 47 48 49 50 51 52 53 Next
RSS: JL blog
All images are sole copyright of John Longden
Total views: 3203230
Powered by Photium